Samay's Rocket Project 1
7/8/2025 - Deciding Parts
Began choosing the parts for a homemade model rocket. I Decided to use TKORs [How To Build A Rocket (From Scratch)](https://youtu.be/r2lDXoW78u0?si=1-RJILLZ_ugcRlTR) as inspiration. I’m using similar parts as him and plan on making significant changes after completing the initial build and launching once.
Here’s a list of the parts I used:
Black coroplast sign board Plastic Champagne glasses Gas Relief Pills 150 Grit Sandpaper 400 Grit Sandpaper Players Gear Golf Tubes Wrapping paper: Epoxy Glue: Hot Glue Gun: Elastic Braided Cord Scissors Plastic Table Cover: Swivel Hooks Rocket Wadding D12-5 Model Rocket Engine 3/4” PVC Coupling (With threads on inside)
7/14/2025 - Making Nose Cone
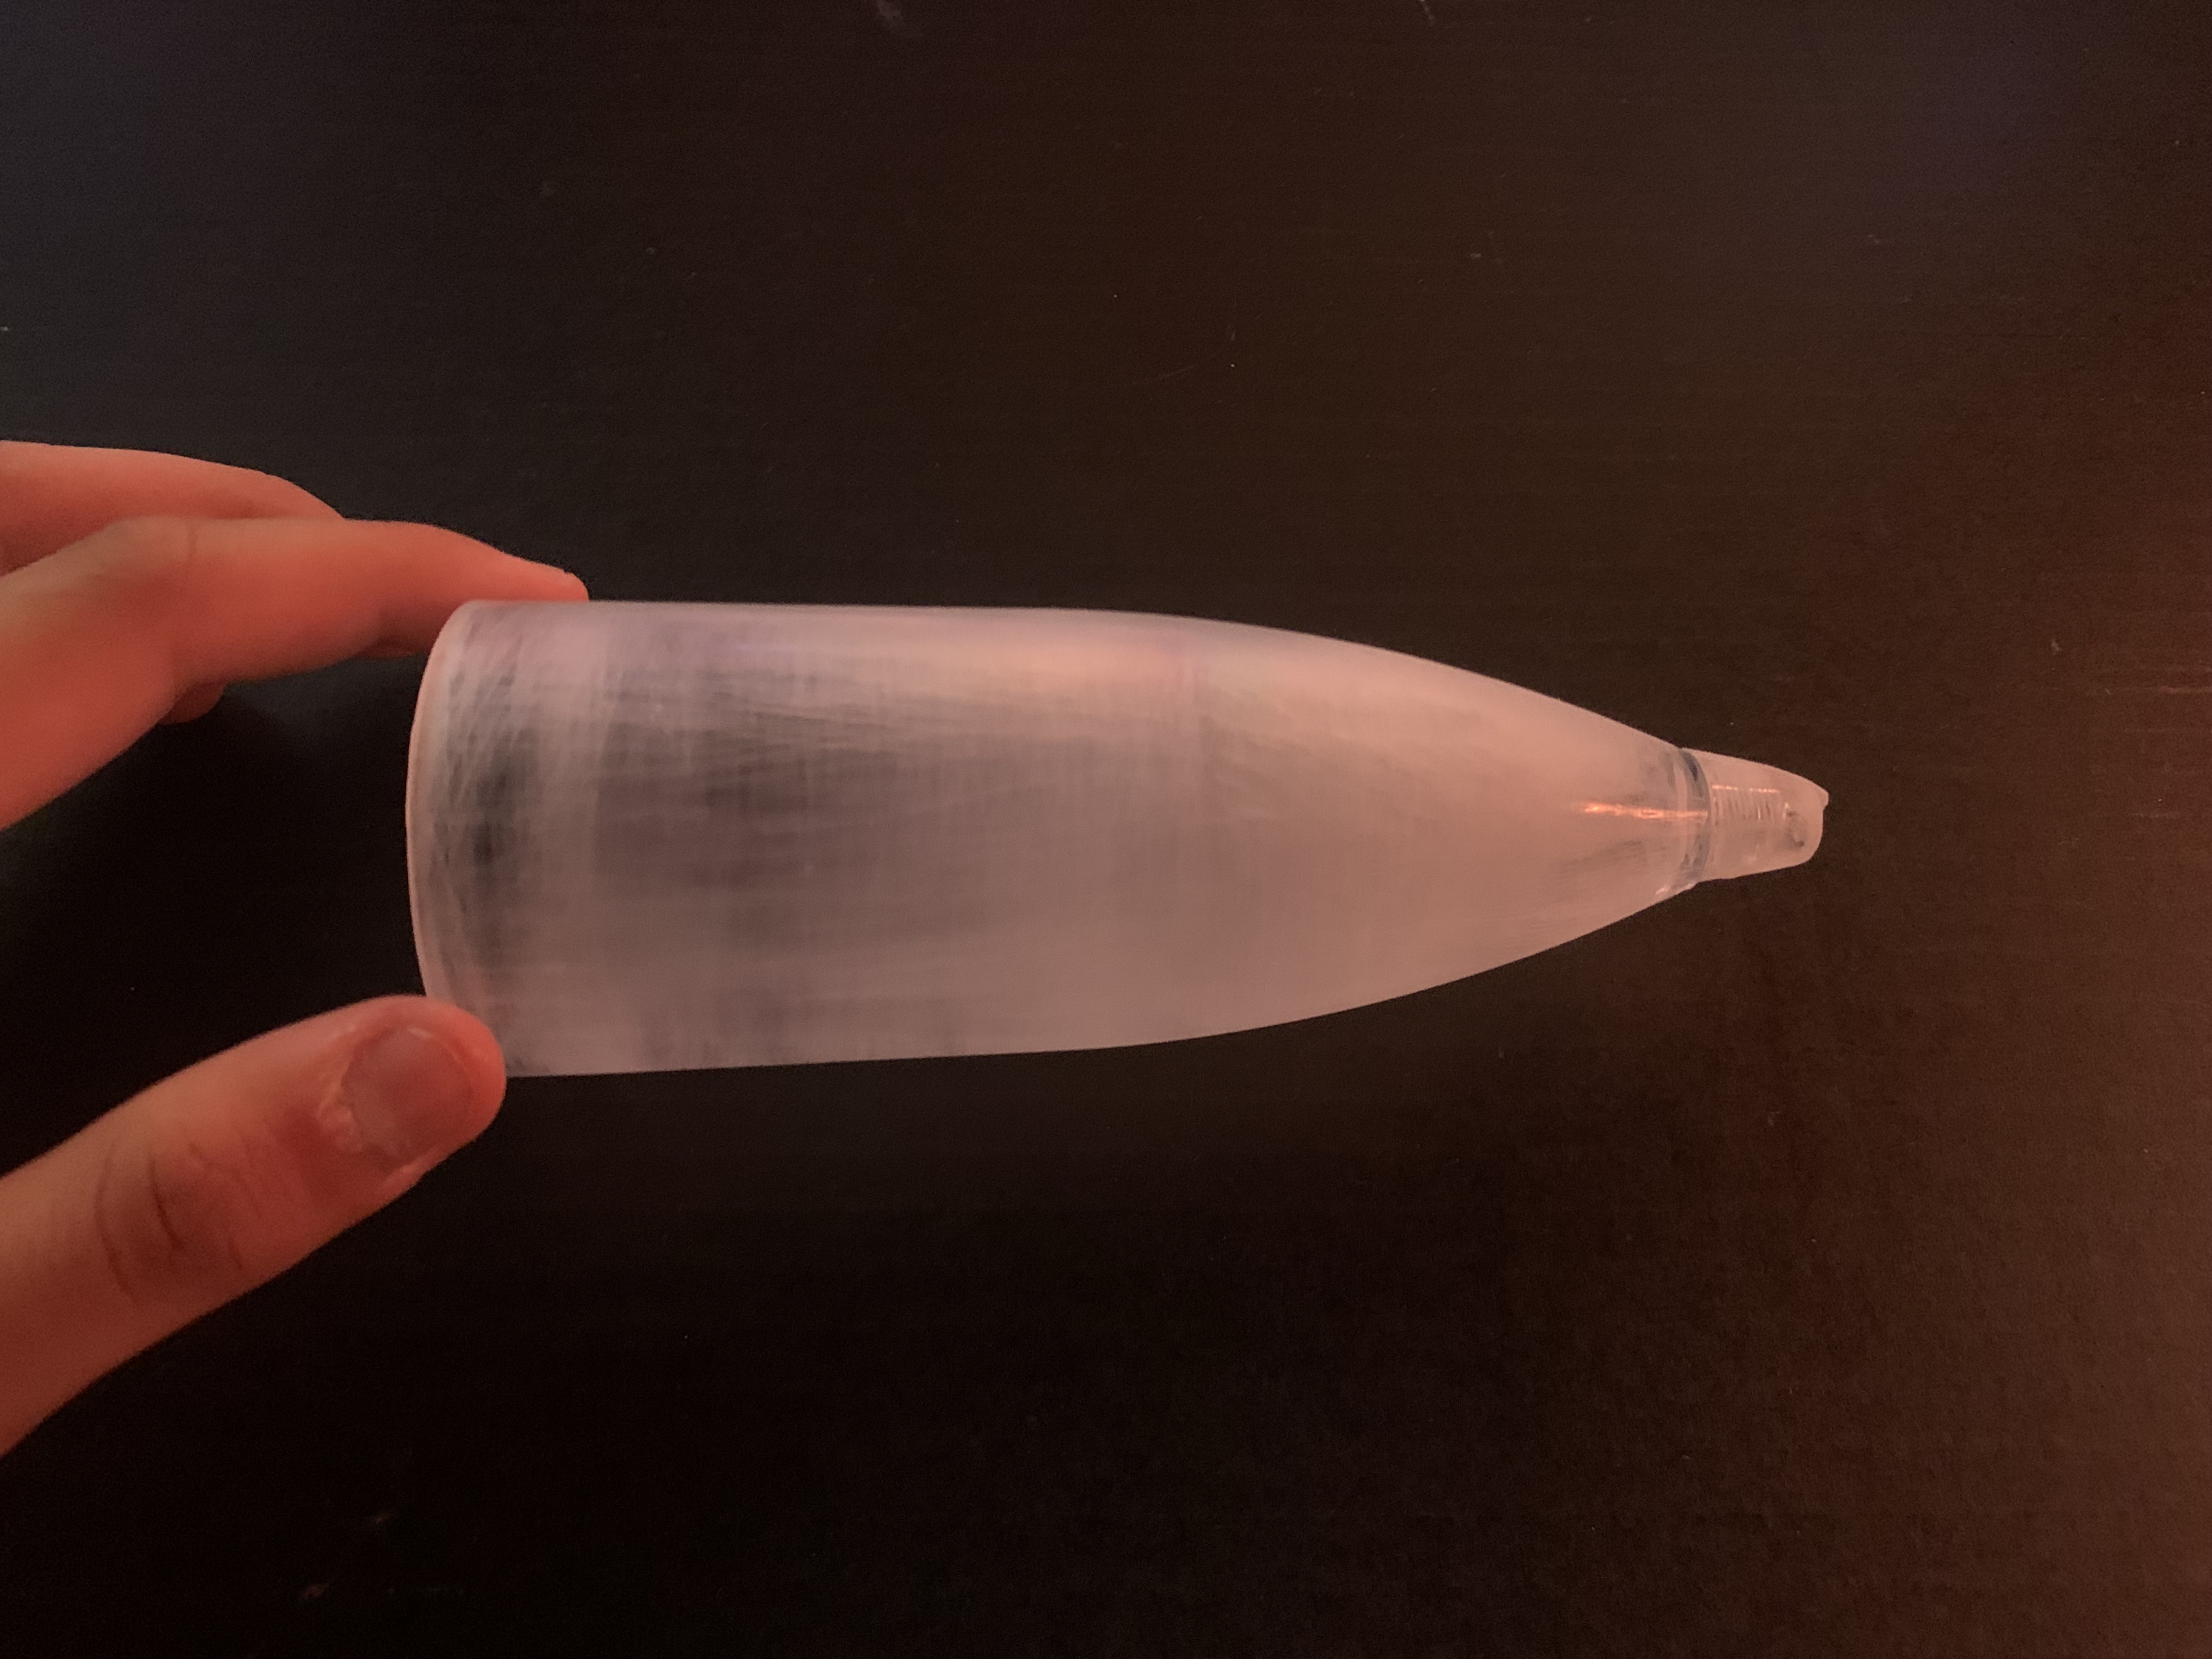
For this part of the build, I started by reusing a plastic champagne glass. I cut off the top, and sanded it to create a smooth tip. It’s surprisingly durable, and very lightweight, so I think it will work great for this rocket. I think it could use a bit more sanding in the future, but it should work well for now. Image ⬇️
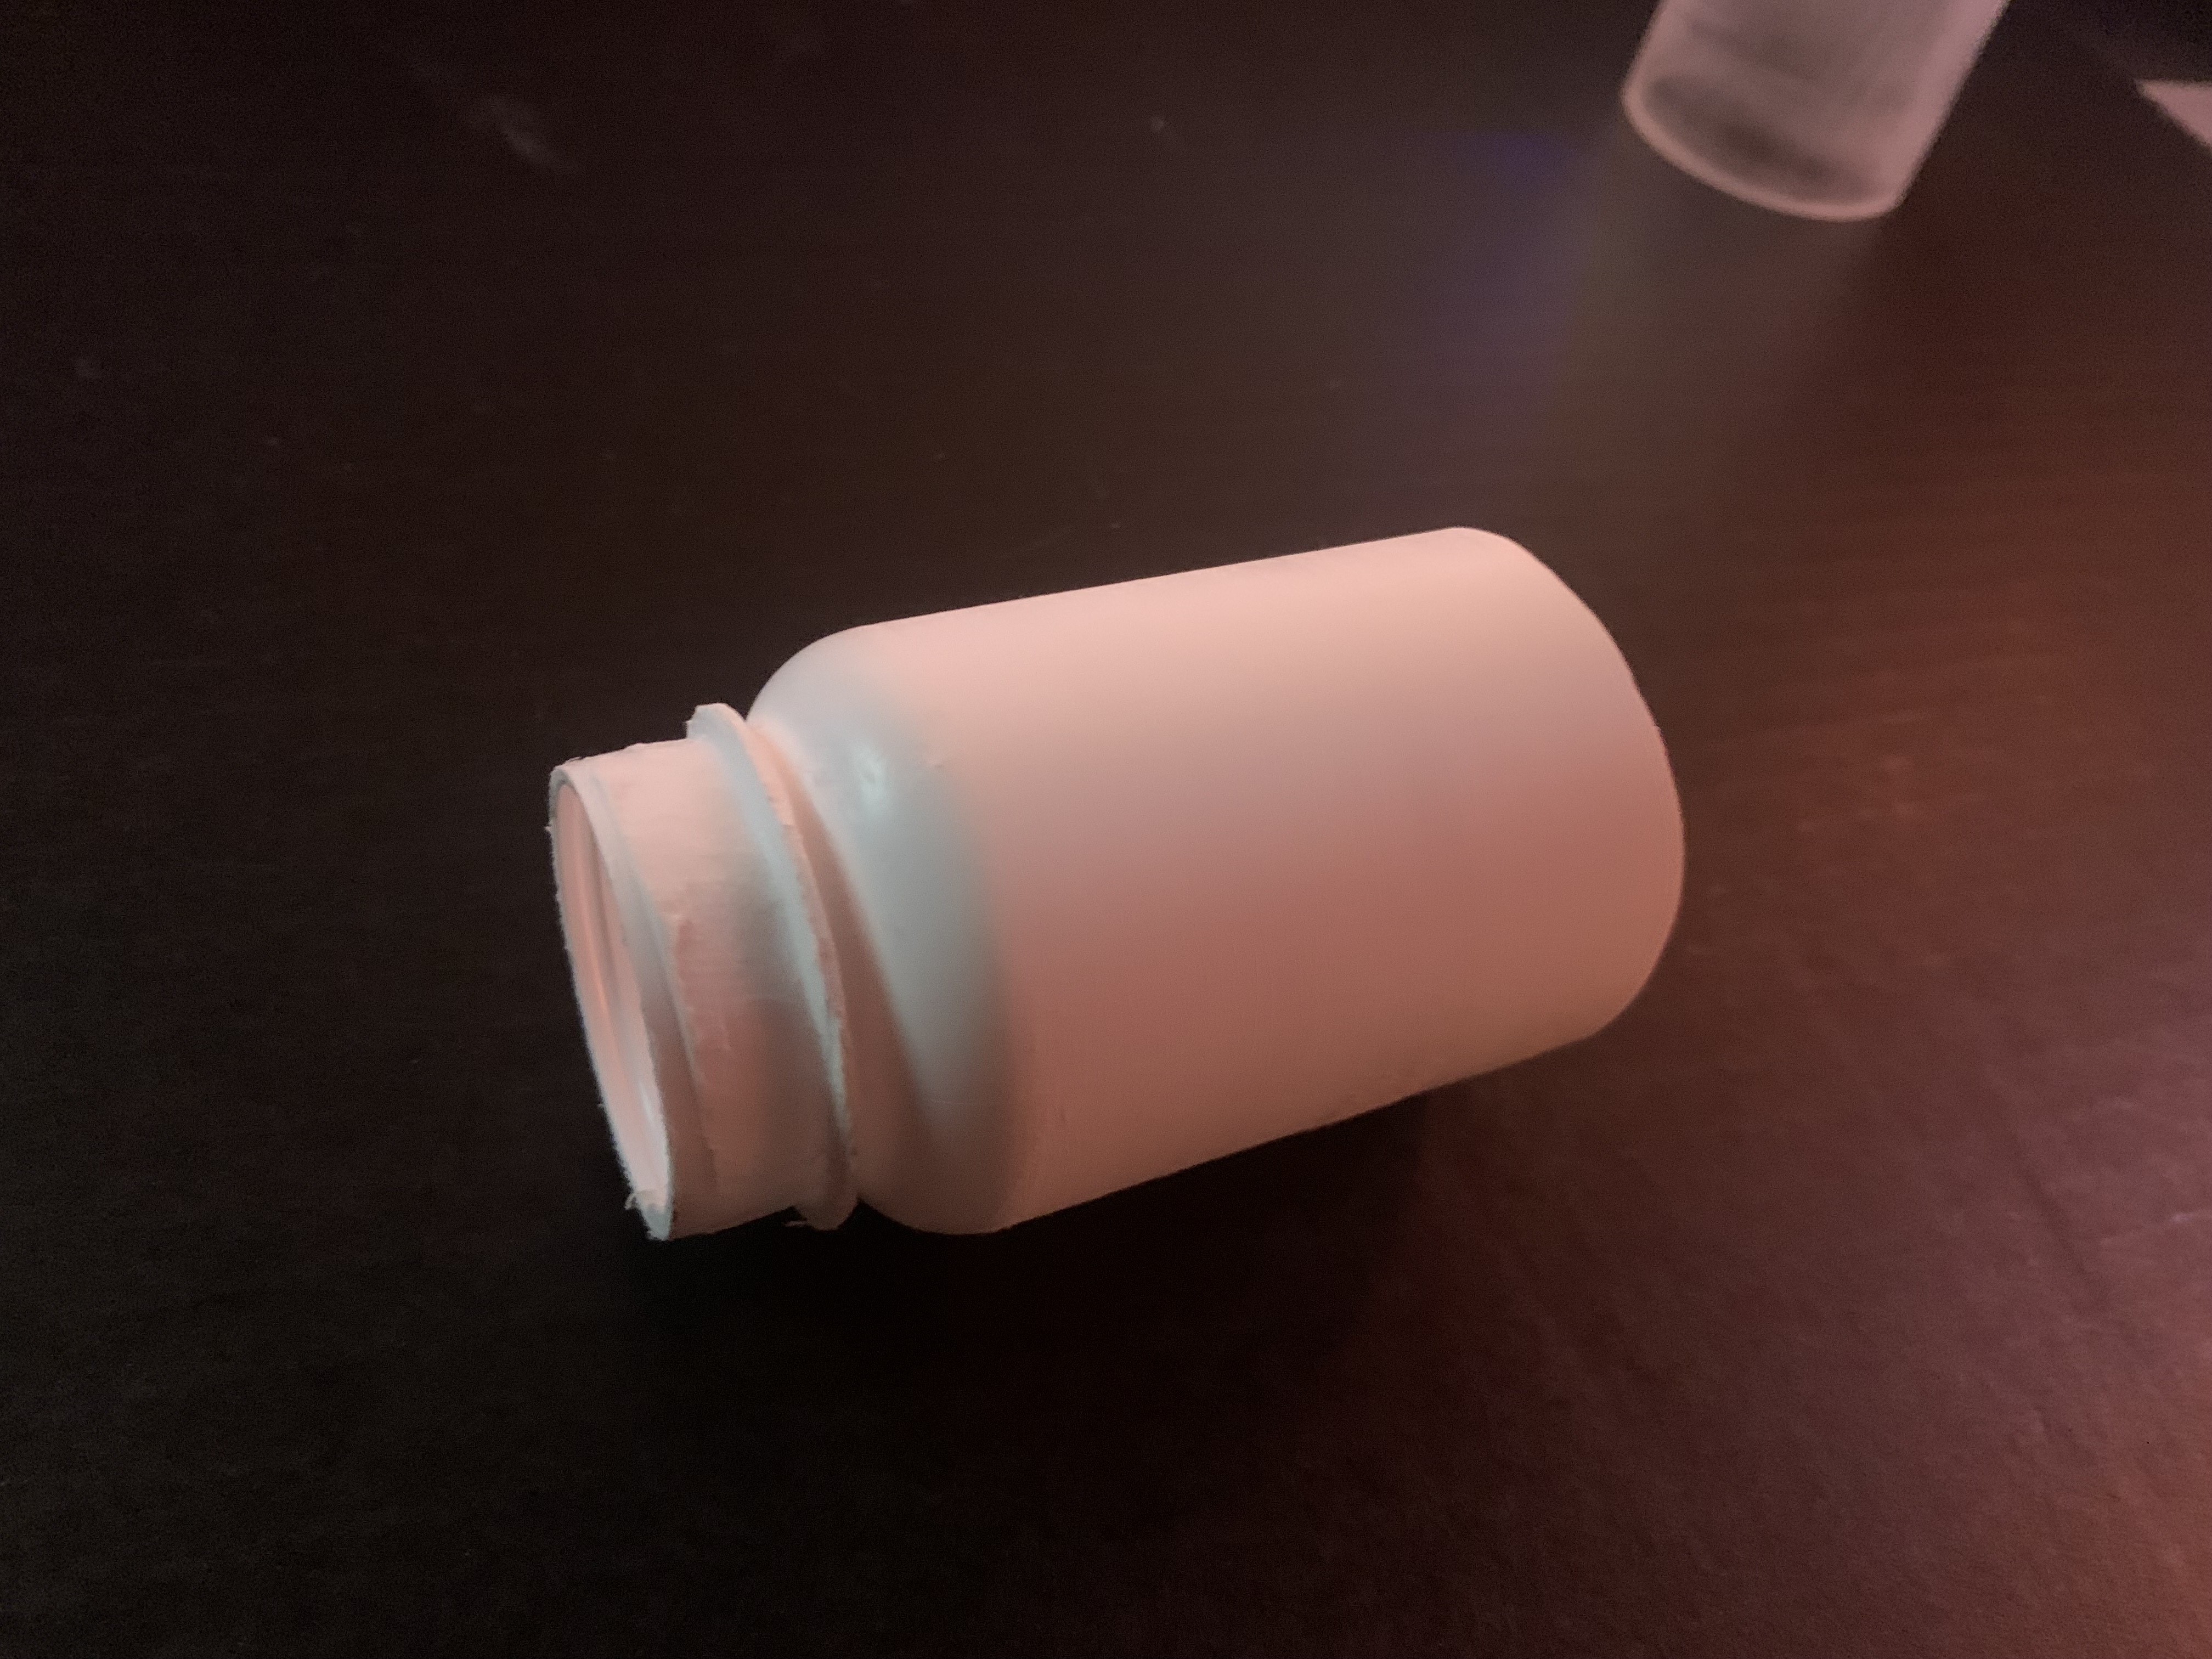
To secure the nose cone to the body, I used a pill bottle as the transition. I cut off the base and used a flat metal file to remove the treads from the bottles neck. Then, I sanded down the rest of the bottle for a clean finish.
Image ⬇️
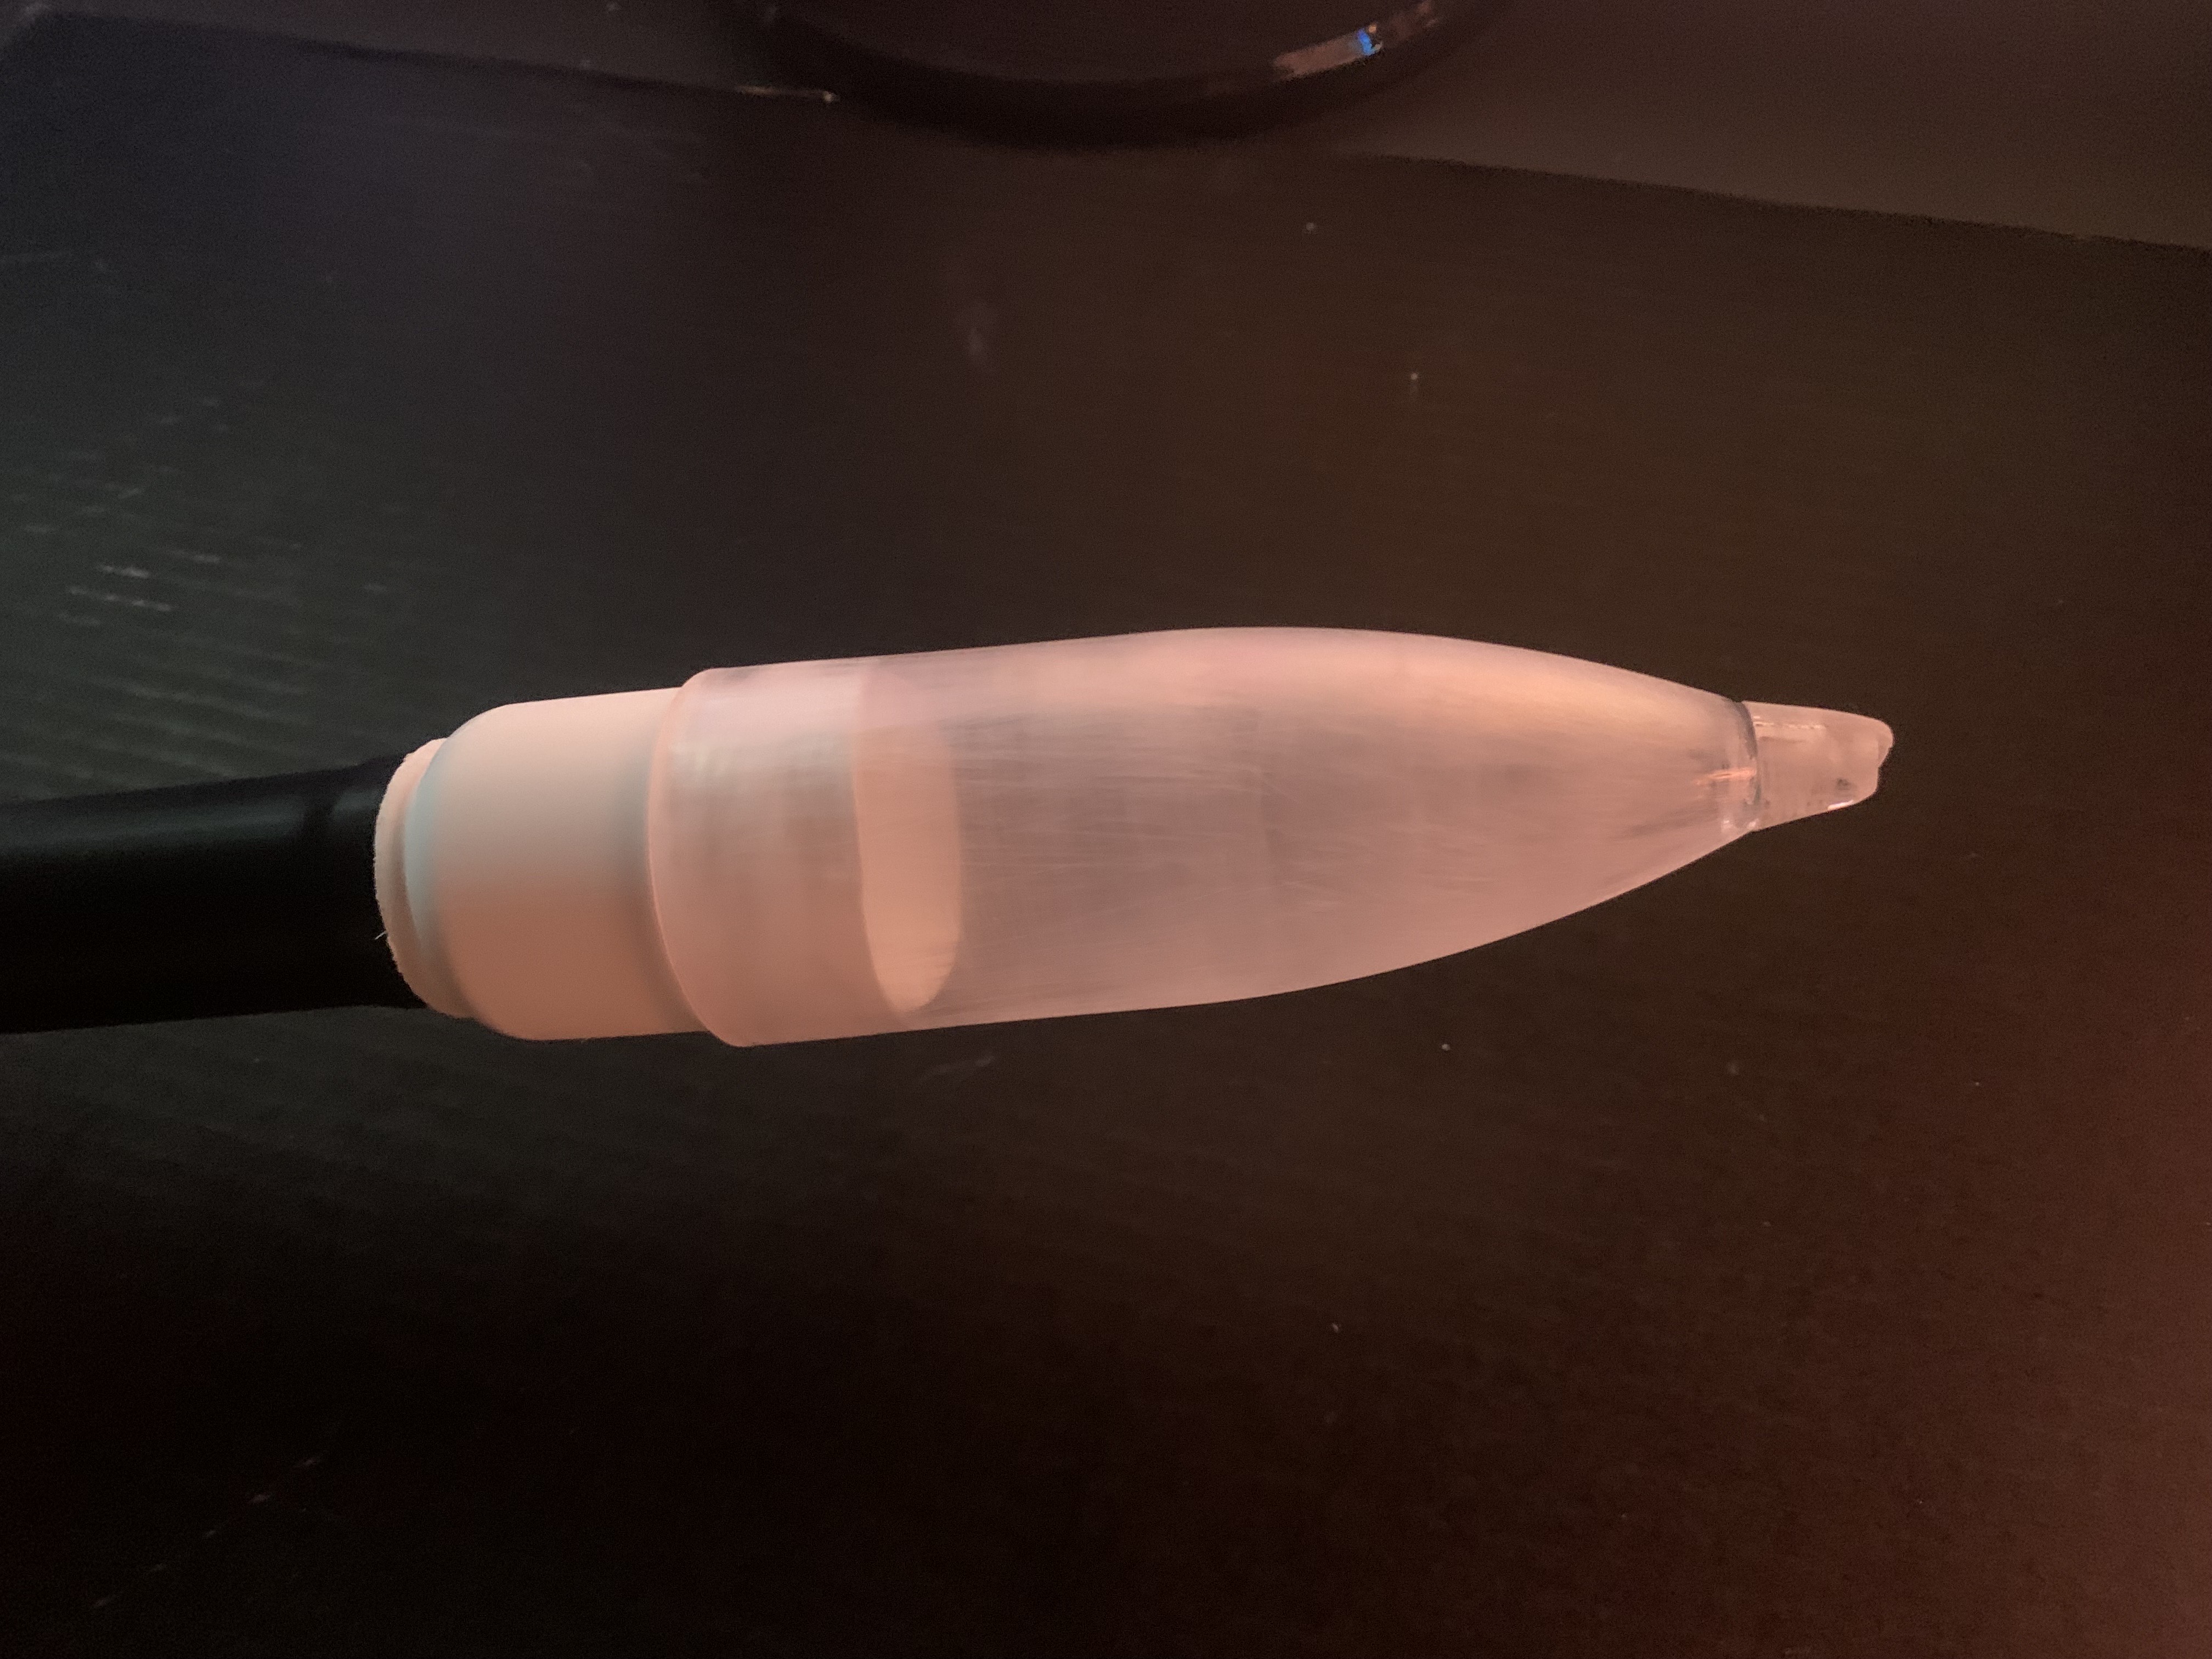
To test it, I connected the pill bottle transition to the rocket body and attached the nose cone on top. It fit tight enough to stay on during flight, but easy to remove if needed.
Image ⬇️
7/30/2025 - Rest of Build
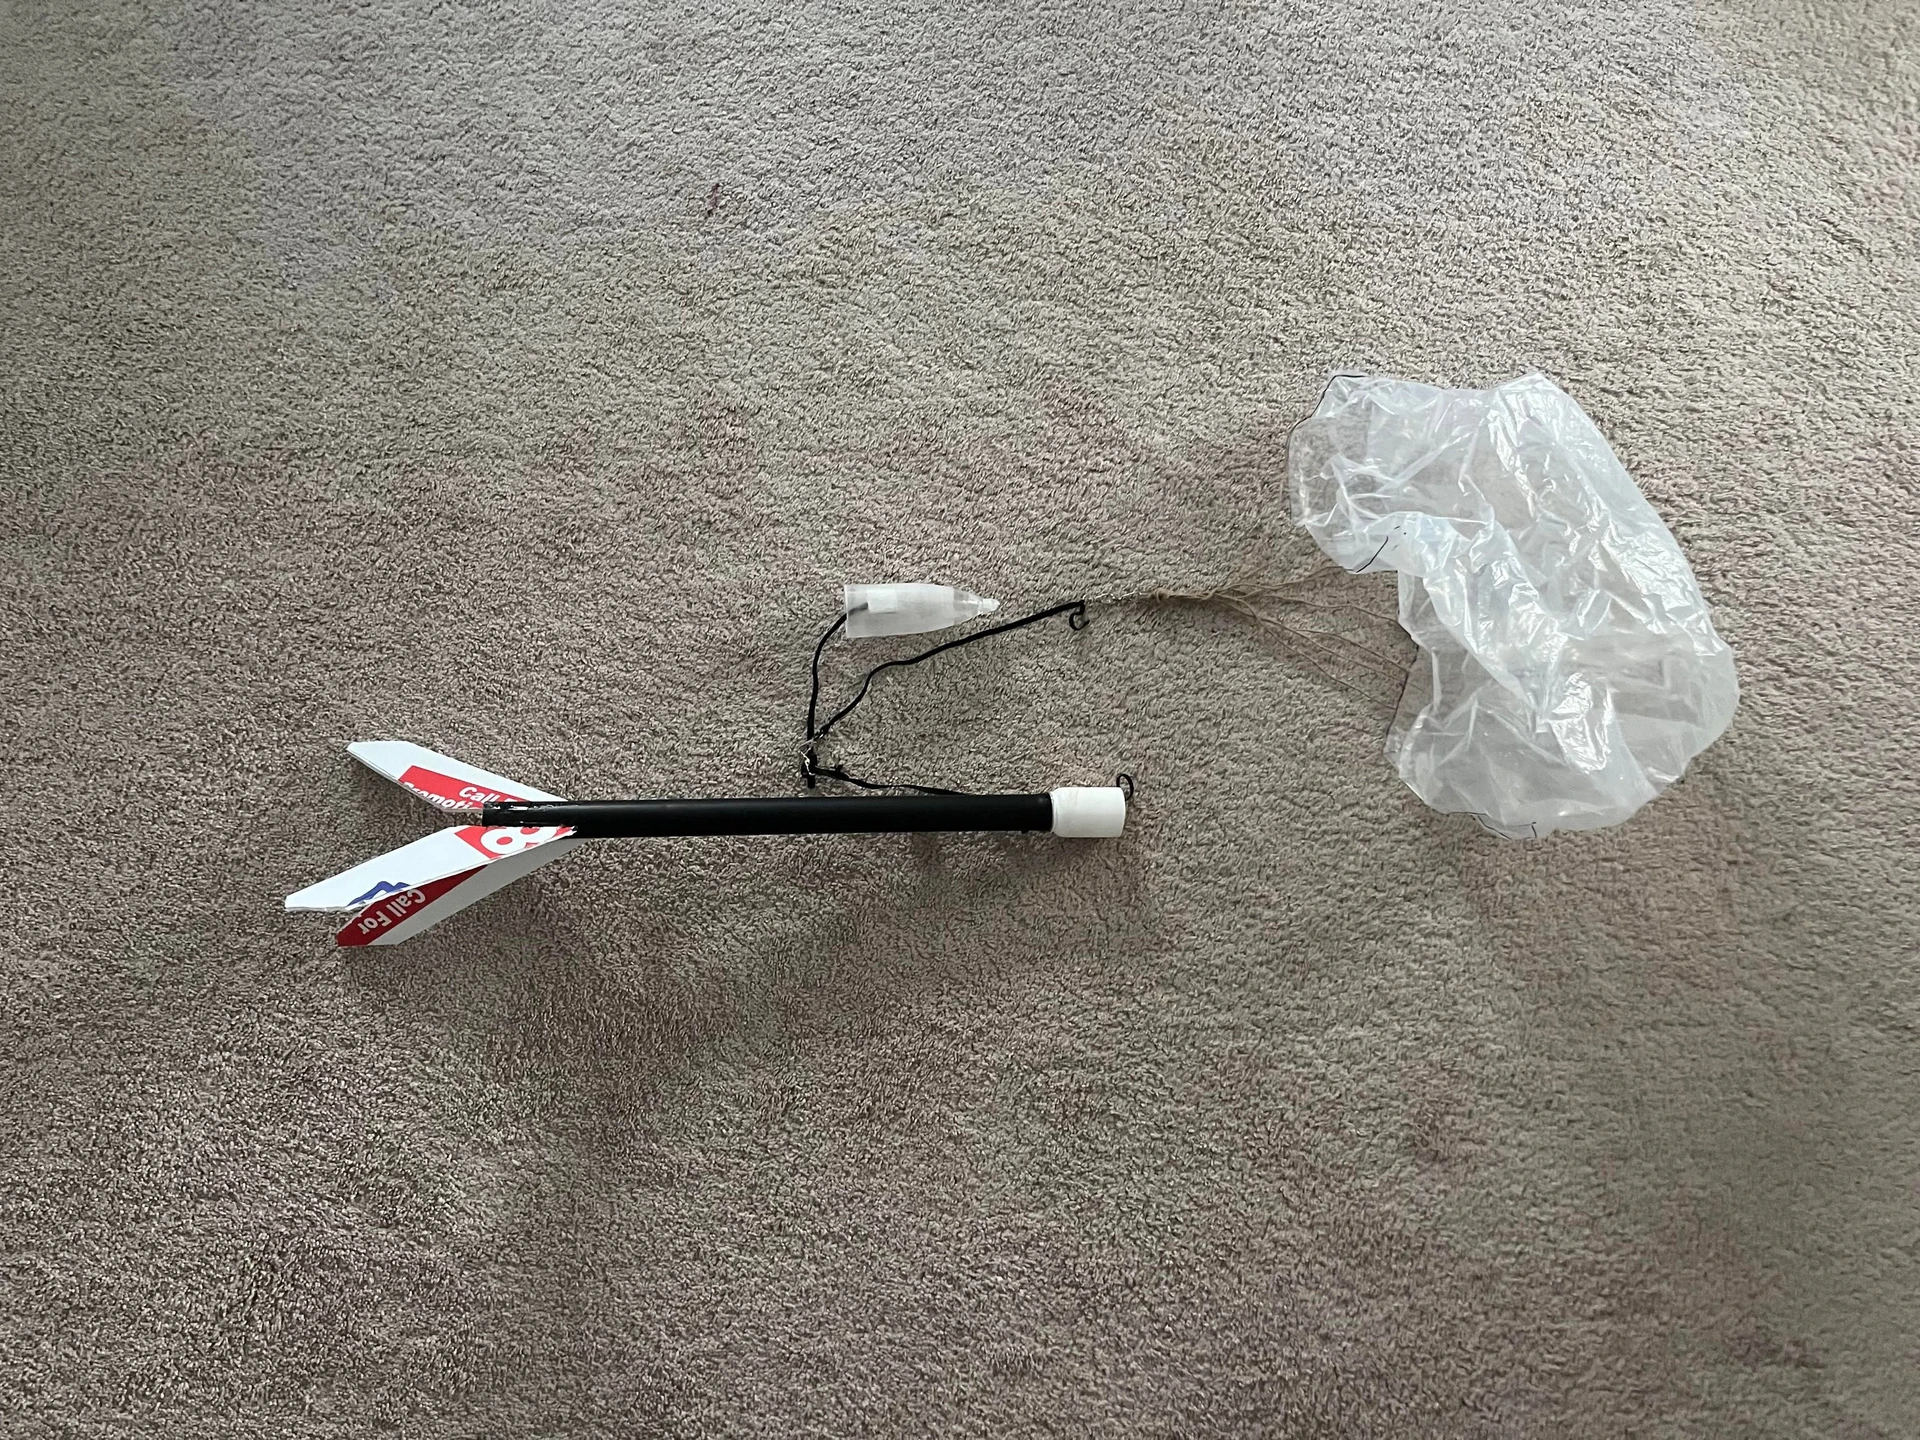
To finish the rocket, I started by putting a PVC coupling into the back to act as a motor mount. For the fins, I cut pieces from a coroplast sign board. I used a band saw, that I borrowed from a family member, to get clean cuts. Then, I hot glued everything to the rocket body.
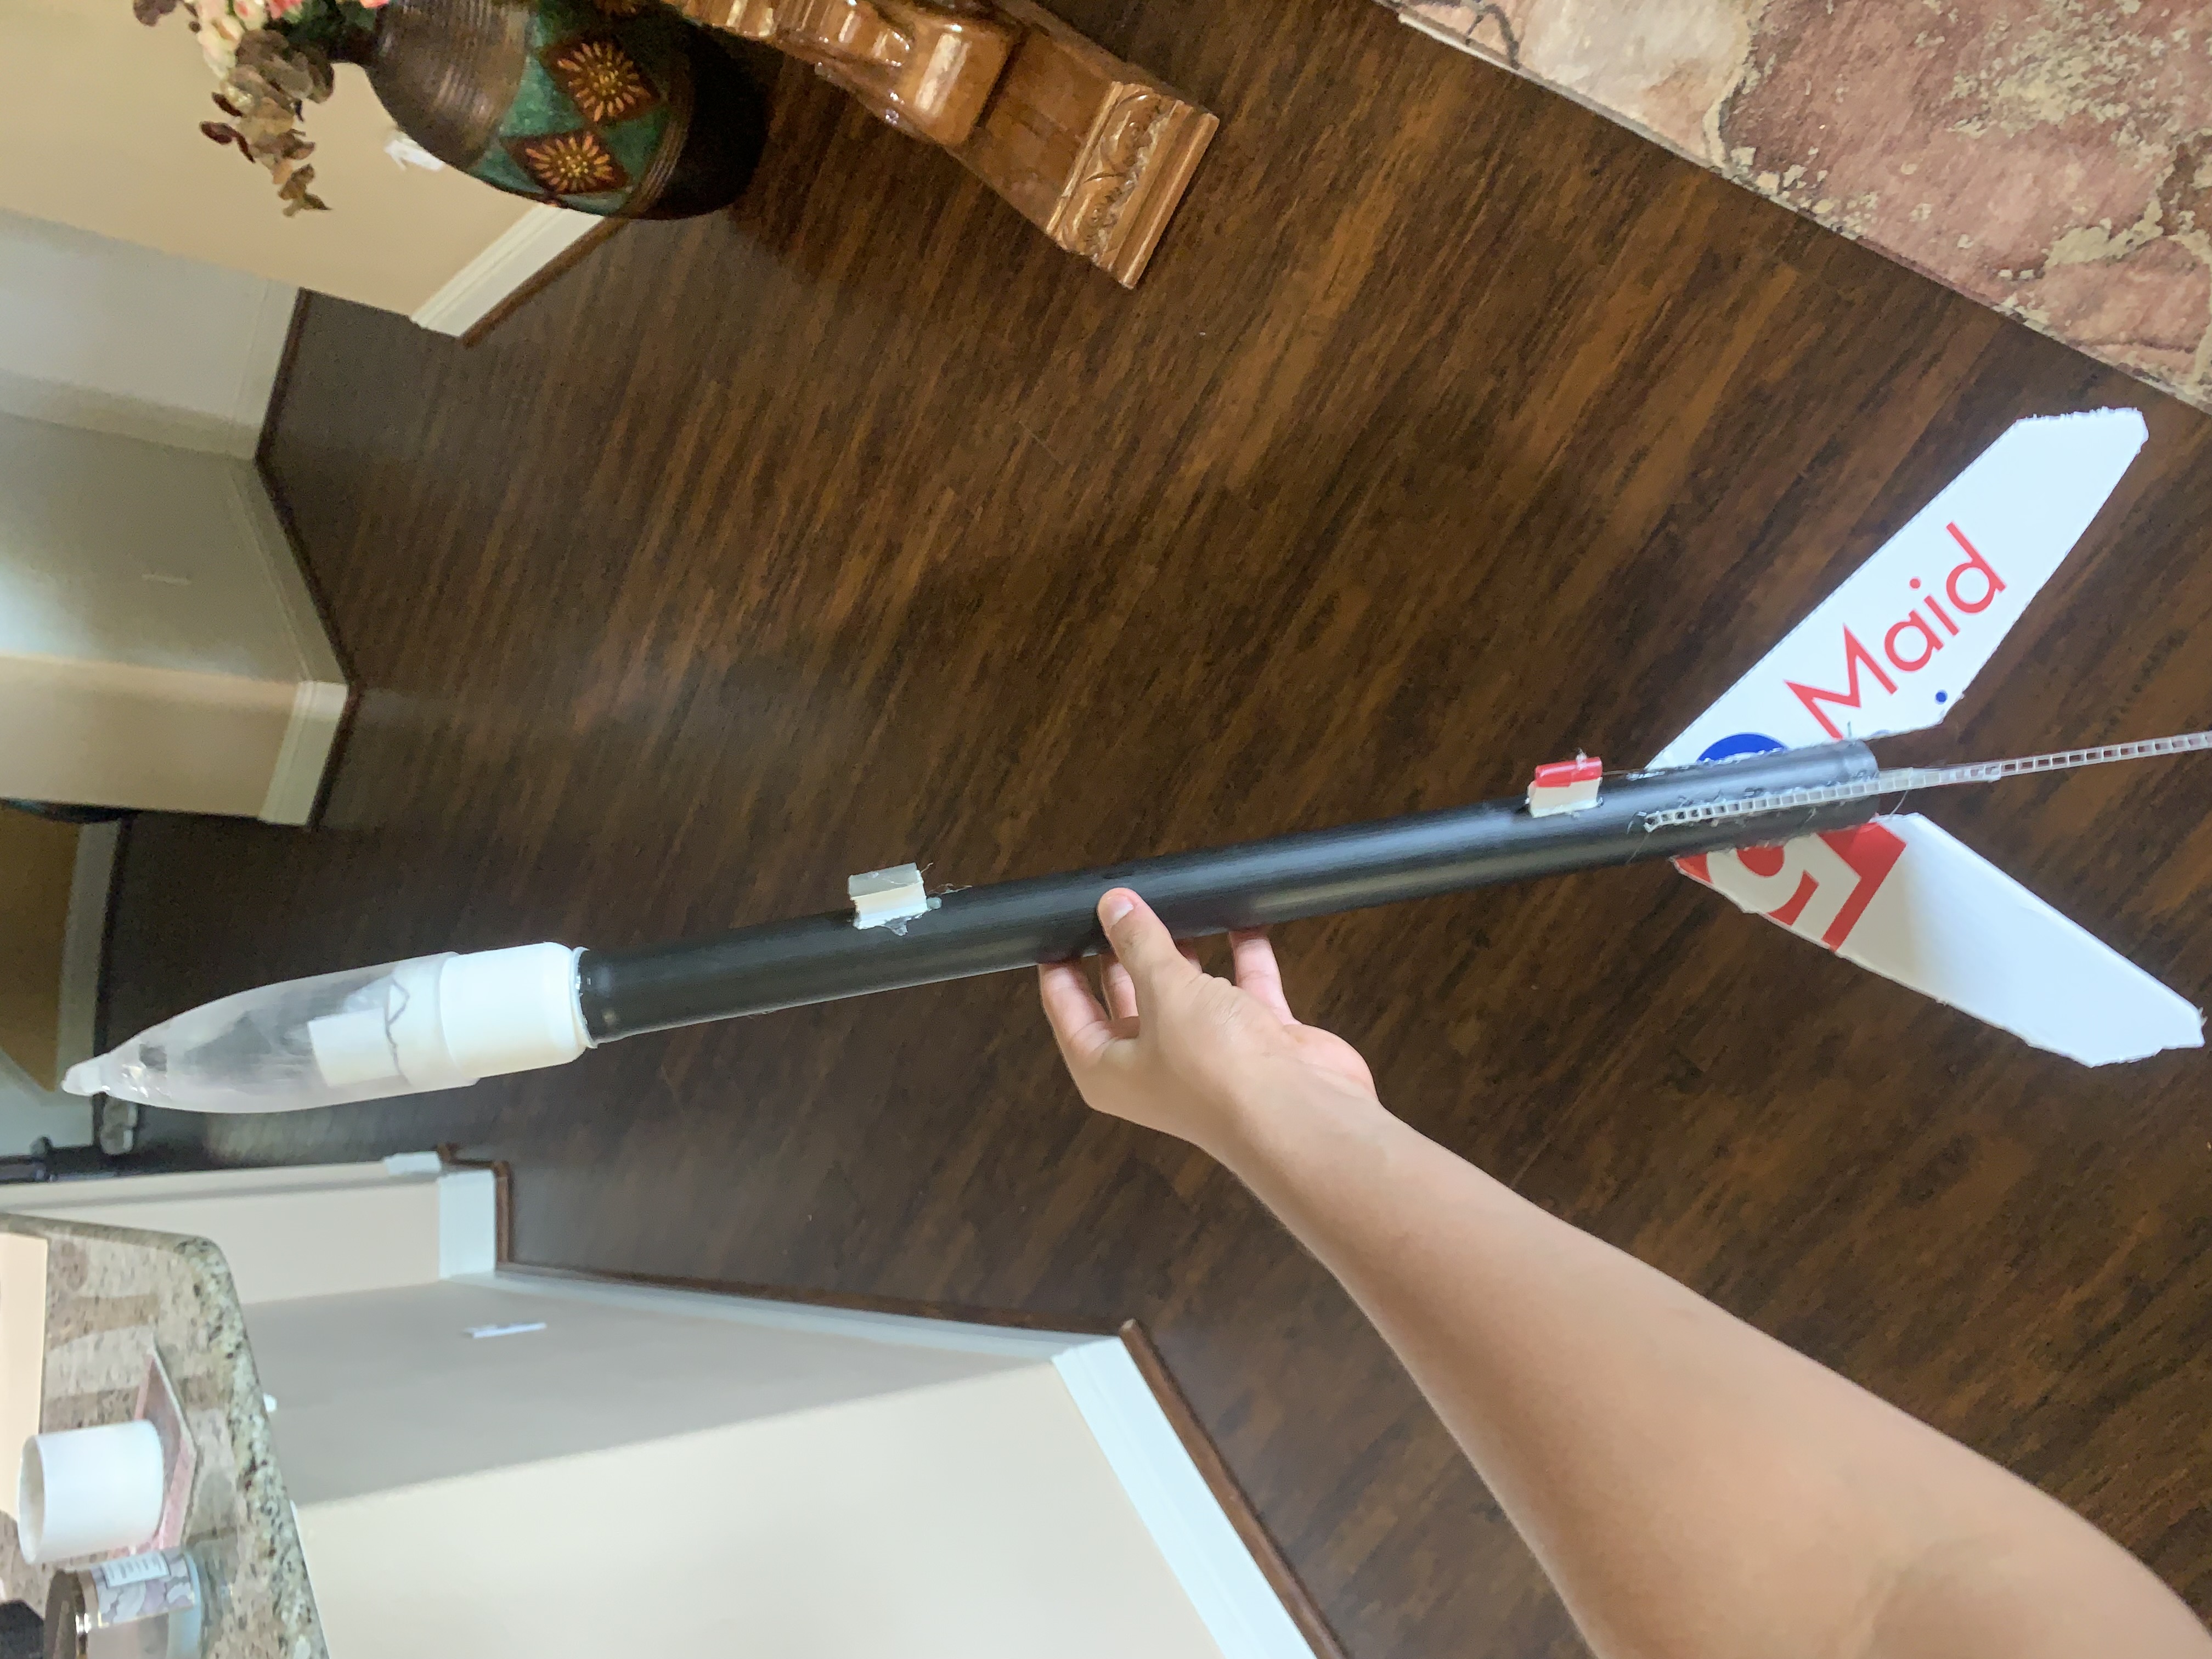
My friend, who helped with the project, built a simple launch pad. It consisted of a wooden slab with a long metal rod screwed in. It could definitely use some improvement in the future, but for this launch, it worked well. For the launch lugs, I cut up a pen and glued the pieces onto small strips of sign board to keep the rocket in place during launch.

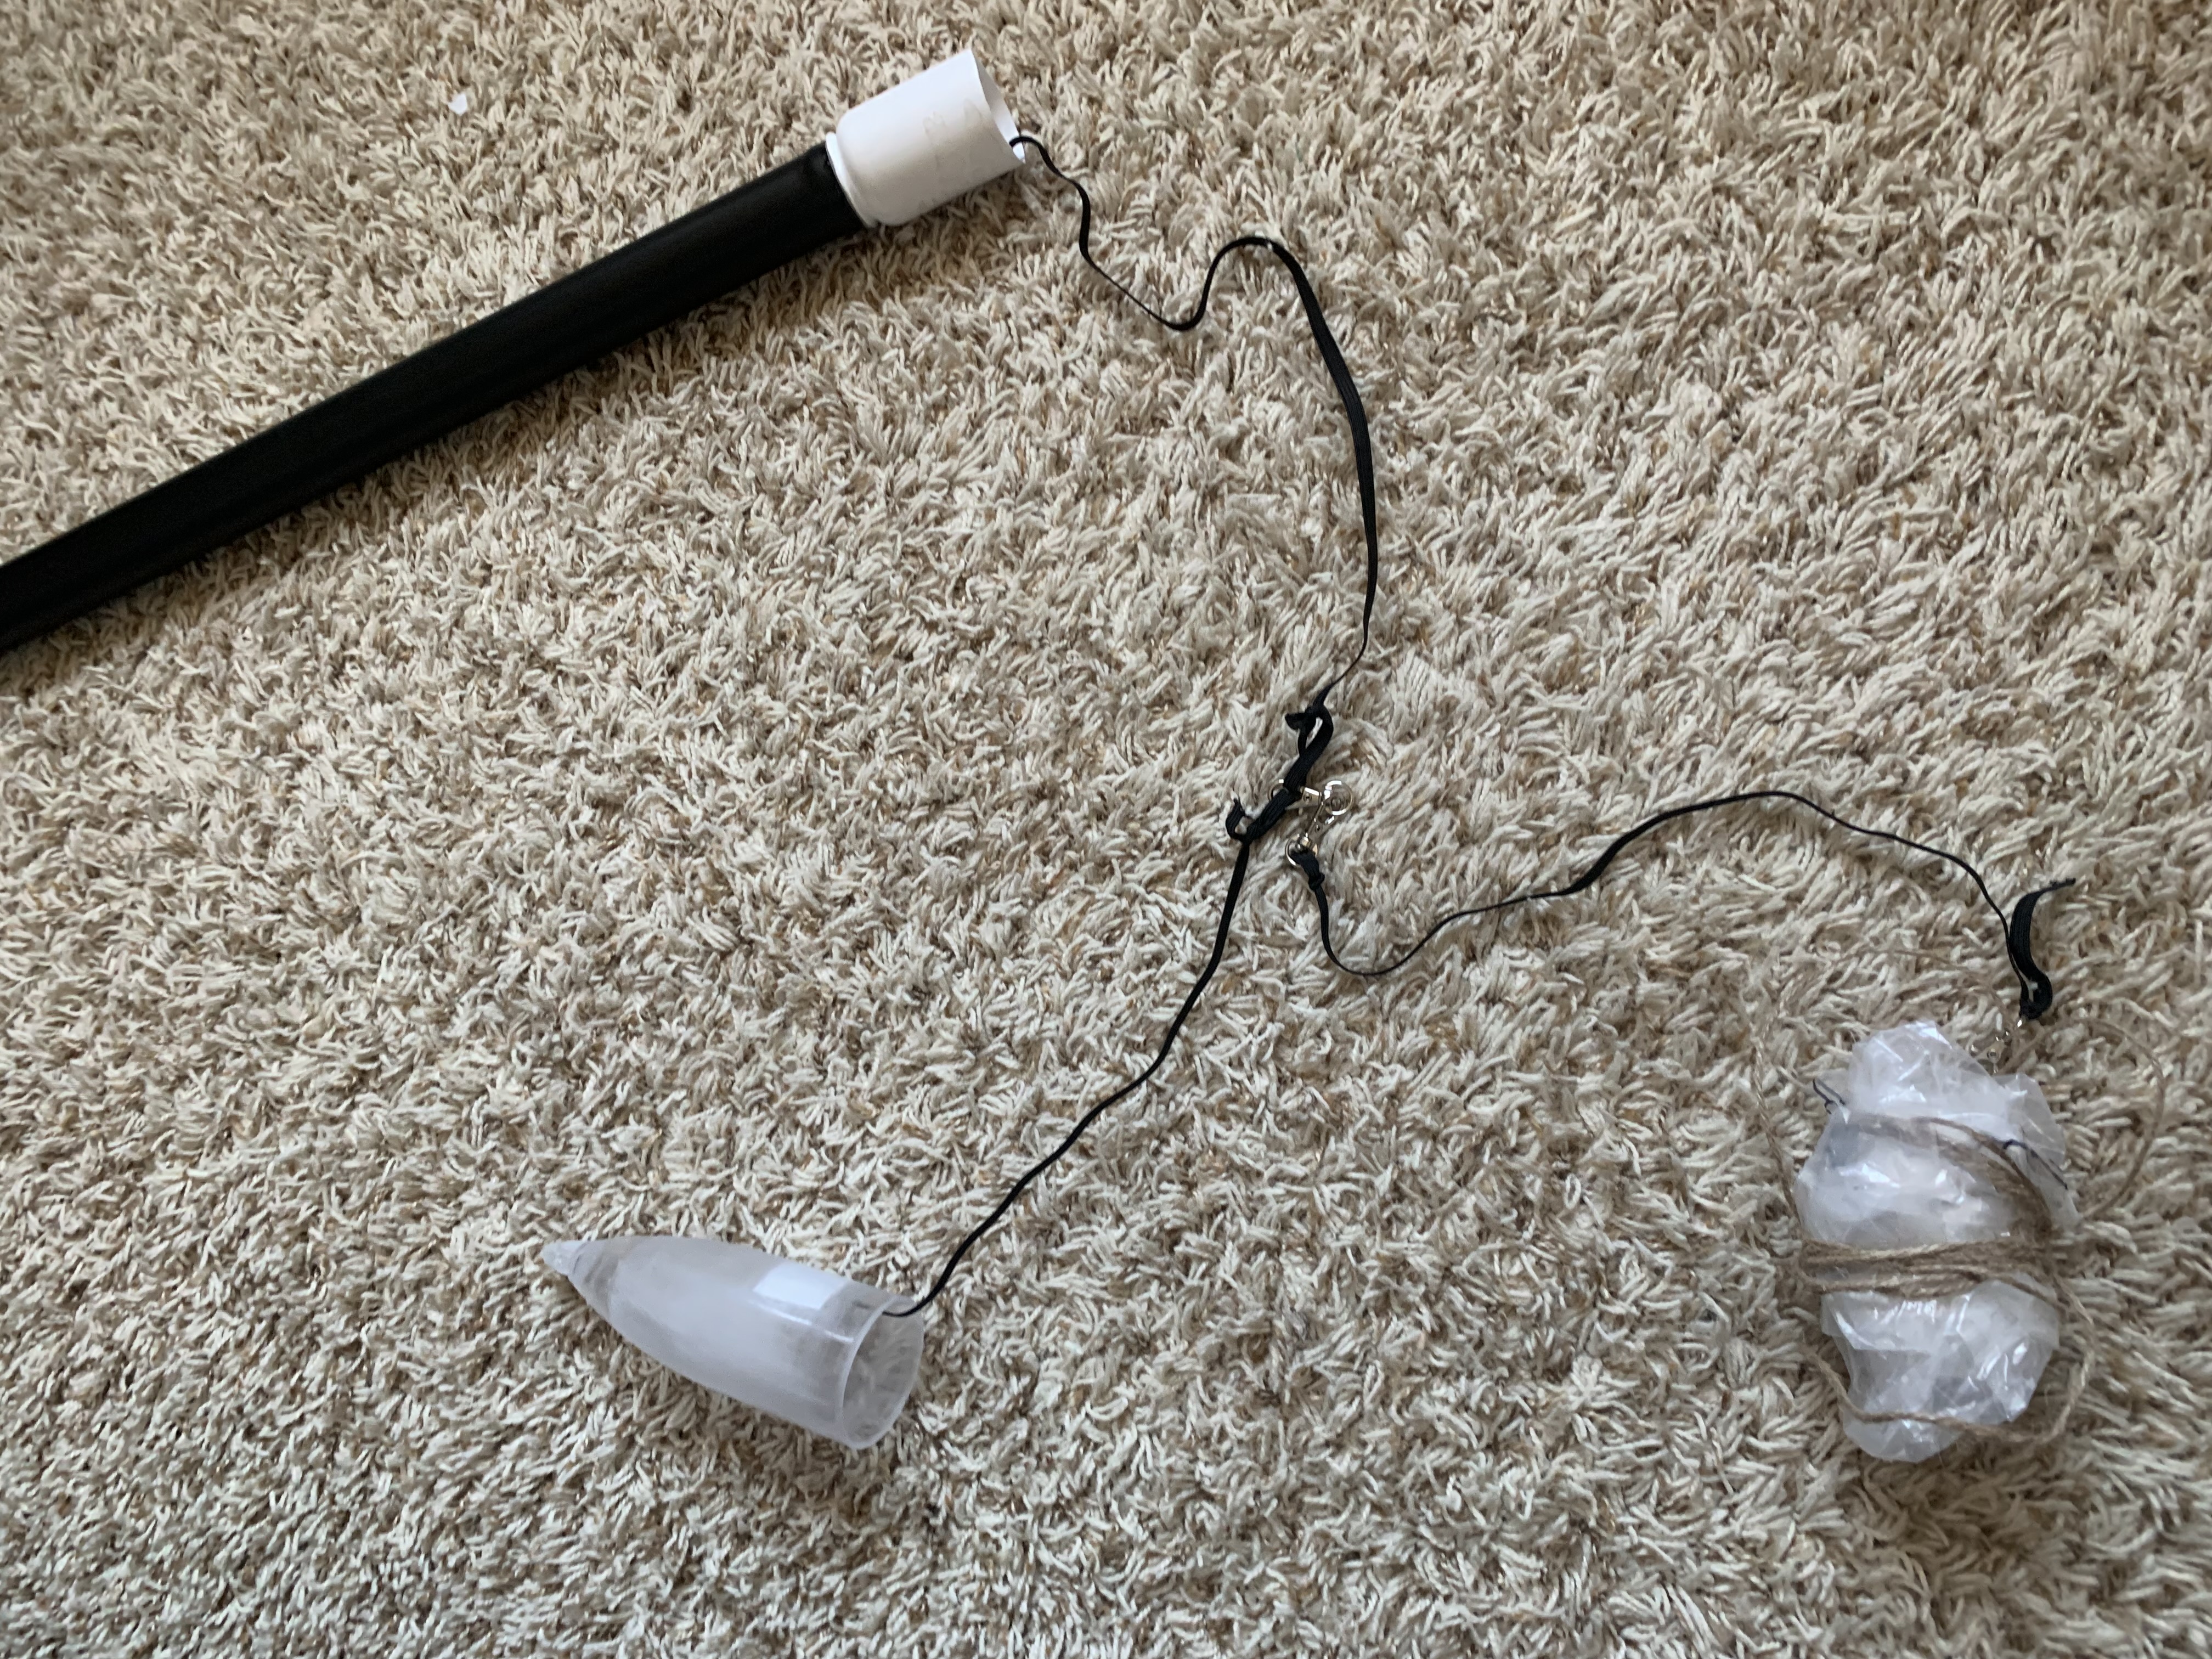
Inside the rocket, I added some rolled-up poster paper as a liner, with some rocket wadding for heat protection. The parachute was attached to both the nose cone, and the body to ensure a nice recovery.
7/30/2025 - Ignition System
For the ignition of the rocket, I used the igniter that comes with model rocket engines. It’s the thin metal wire that goes into the engine nozzle. To power it, I tore apart a broken iPhone charger to use the copper wires inside. I wrapped the copper around the igniter’s ends and connected the other ends to a Duracell 9v battery.
It worked perfectly. As soon as the circuit was complete, the igniter heated up enough to launch the rocket.

7/30/2025 - Launch
We ended up launching the rocket twice. The first launch went great, as it flew straight up with only a bit of drift and deployed the parachute as expected. It landed safely, with the only damage being one fin popping off on impact.
Out of curiosity, I decided to try a second launch without reattaching the missing fin. The rocket still flew well. This time it took off in a spiral pattern, but it stayed mostly stable and barely drifted while flying.
What’s interesting is that the first flight with all 4 fins had more sideways drift than the second. I concluded that this was due to Spin Stabilization. The spinning effect made any misalignment of off-axis force average out over the rotation. Instead of drifting in one direction, the rocket shared the drift in a circular pattern. Here’s the video ⬇️
Thanks for reading!